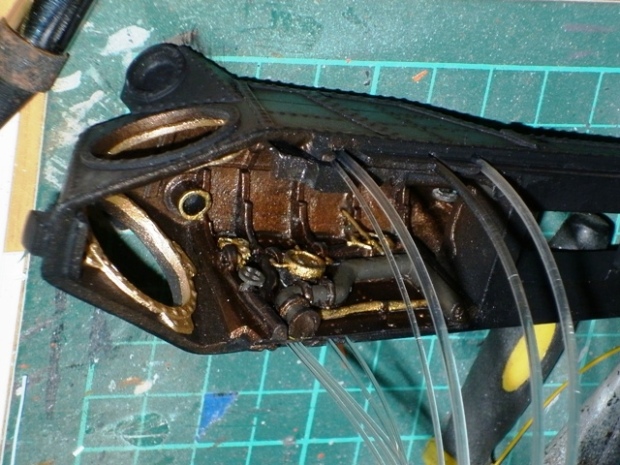
In part one, I said I wanted to light the kit and the simplest way to do any of that was with LEDs and fibre optics. By that time I had a reasonable amount of success with using LEDs and fibre optics in my other models so it seemed like a natural progression to continue with them.
One thing to remember with fibre optics is not to bend them by force because firstly they’ll most likely snap and secondly they craze so the light won’t get through. I got around this little dilemma by dipping the fibres into boiling water and then quickly bending them at 90 degrees before dipping them in ice water. To make the mushroom lens all I had to do was move them up to a naked flame which melted back the tip.
To actually put light through them all that is required is drilling equal diameter hole into the top of some LEDs and glueing in the fibres. (for the record don’t use any sort of super glue or similar)
Am I a clever lad?
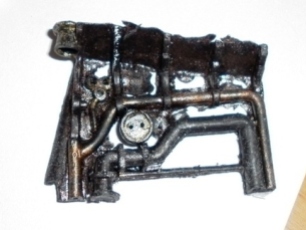
The next stage of the wheelhouse construction was painting the interior wall sections with different sheds of metallic hobby paints. I can’t remember why but at the time I decided to hand brush the parts instead of using my airbrush. But to correct the error, I dabbed on some eco-friendly paint stripper I had previously used on other styrene kits to remove a bad paint job. Well, remember I said this was a resin kit. It turned out the stripper while working on plastics didn’t like the resin. When I found the part the next morning I was mortified, enraged and on the verge of tears. The stripper had turned the part into a gooey rubbery mess and had virtually dissolved the thinner parts with the paint. So my cleverness scale crashed big time.
But as the saying goes, from adversity comes triumph. After washing away all traces of the stripper I let the piece dry outside in the patio. By the following day it had fortunately rehardened so I set to work with a sharp Exacto knife and removed all the wall panels or what was left of them. I then used some styrene sheet to remake the walls. To make the rivets I mixed PVA glue and plaster together ad applied it with a toothpick by then I was feeling my confidence return so I pulled out the copies of the actual Disney blueprints and scratch built some additional detail.
And below is the end result of the rebuilt wall in situ after its final painting, washes and shading.

Now who’s a clever lad?


When will building the 31″ model Nautilus part 3 be uploaded? We’re waiting to see the next step.
LikeLike
I’m glad you’re wanting more. I will try to get an update done a couple of times a week between my my other tasks. Thanks for taking the time to earn my blog. 😀
LikeLike